When a goat gets lost
Welcome to my random website. Here you can search for something important or download something. And I as a goat don't really care if you want to do anything on my website, the important thing is to enjoy
Hello guys, who here doesn't know OBS Studio? There are so many Streamers and YouTubers who use this application for recording and creating their content. especially if they want to do live streaming content, they certainly use this application.
The reason why many people use the OBS Studio application is because the OBS Studio application is 100% free and also opensource, so they don't have to pay quite expensive money to buy this one recording software. Besides being free, OBS Studio also has many features and configurations that you can set to your heart's content, so you can get great recording results and don't even need to re-edit.
But because this application is classified as too many features, so for those of you who are beginners, you must feel confused about how to set up basics for beginners. So I as an OBS Studio user will give you a basic tutorial for using this application. So yeah, let's go
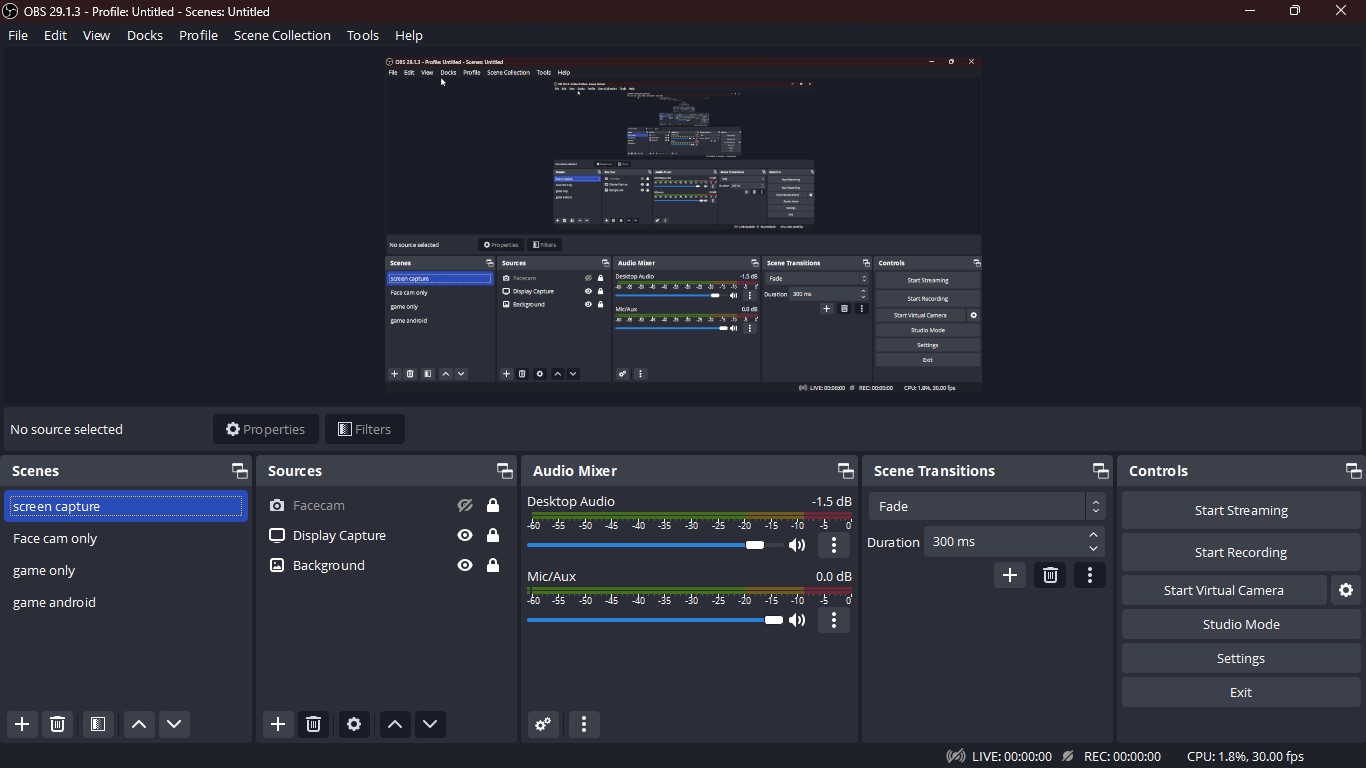
In the initial view in OBS Studio, we are given several menus and options, such as "scenes", "sources", "audio mixer", "transitions", and "controls". we will discuss one by one.
If you are opened up OBS Studio for the first time, you can not immediately start recording, because you need to add some sources first. You must follow these steps for start capturing your screen
Lastly, adjust your audio settings such as volume for your mic and desktop audio. if everything is done, click "start recording" and now you can record your entire screen
for advanced tutorial, you can search in some Internet results because I'm only showing you the basics